Setting up an endpoint
Prerequisites
Before you begin, make sure you:
- Are logged into your account
- Navigate to the Endpoints section in the left menu (or access it from the Dashboard)
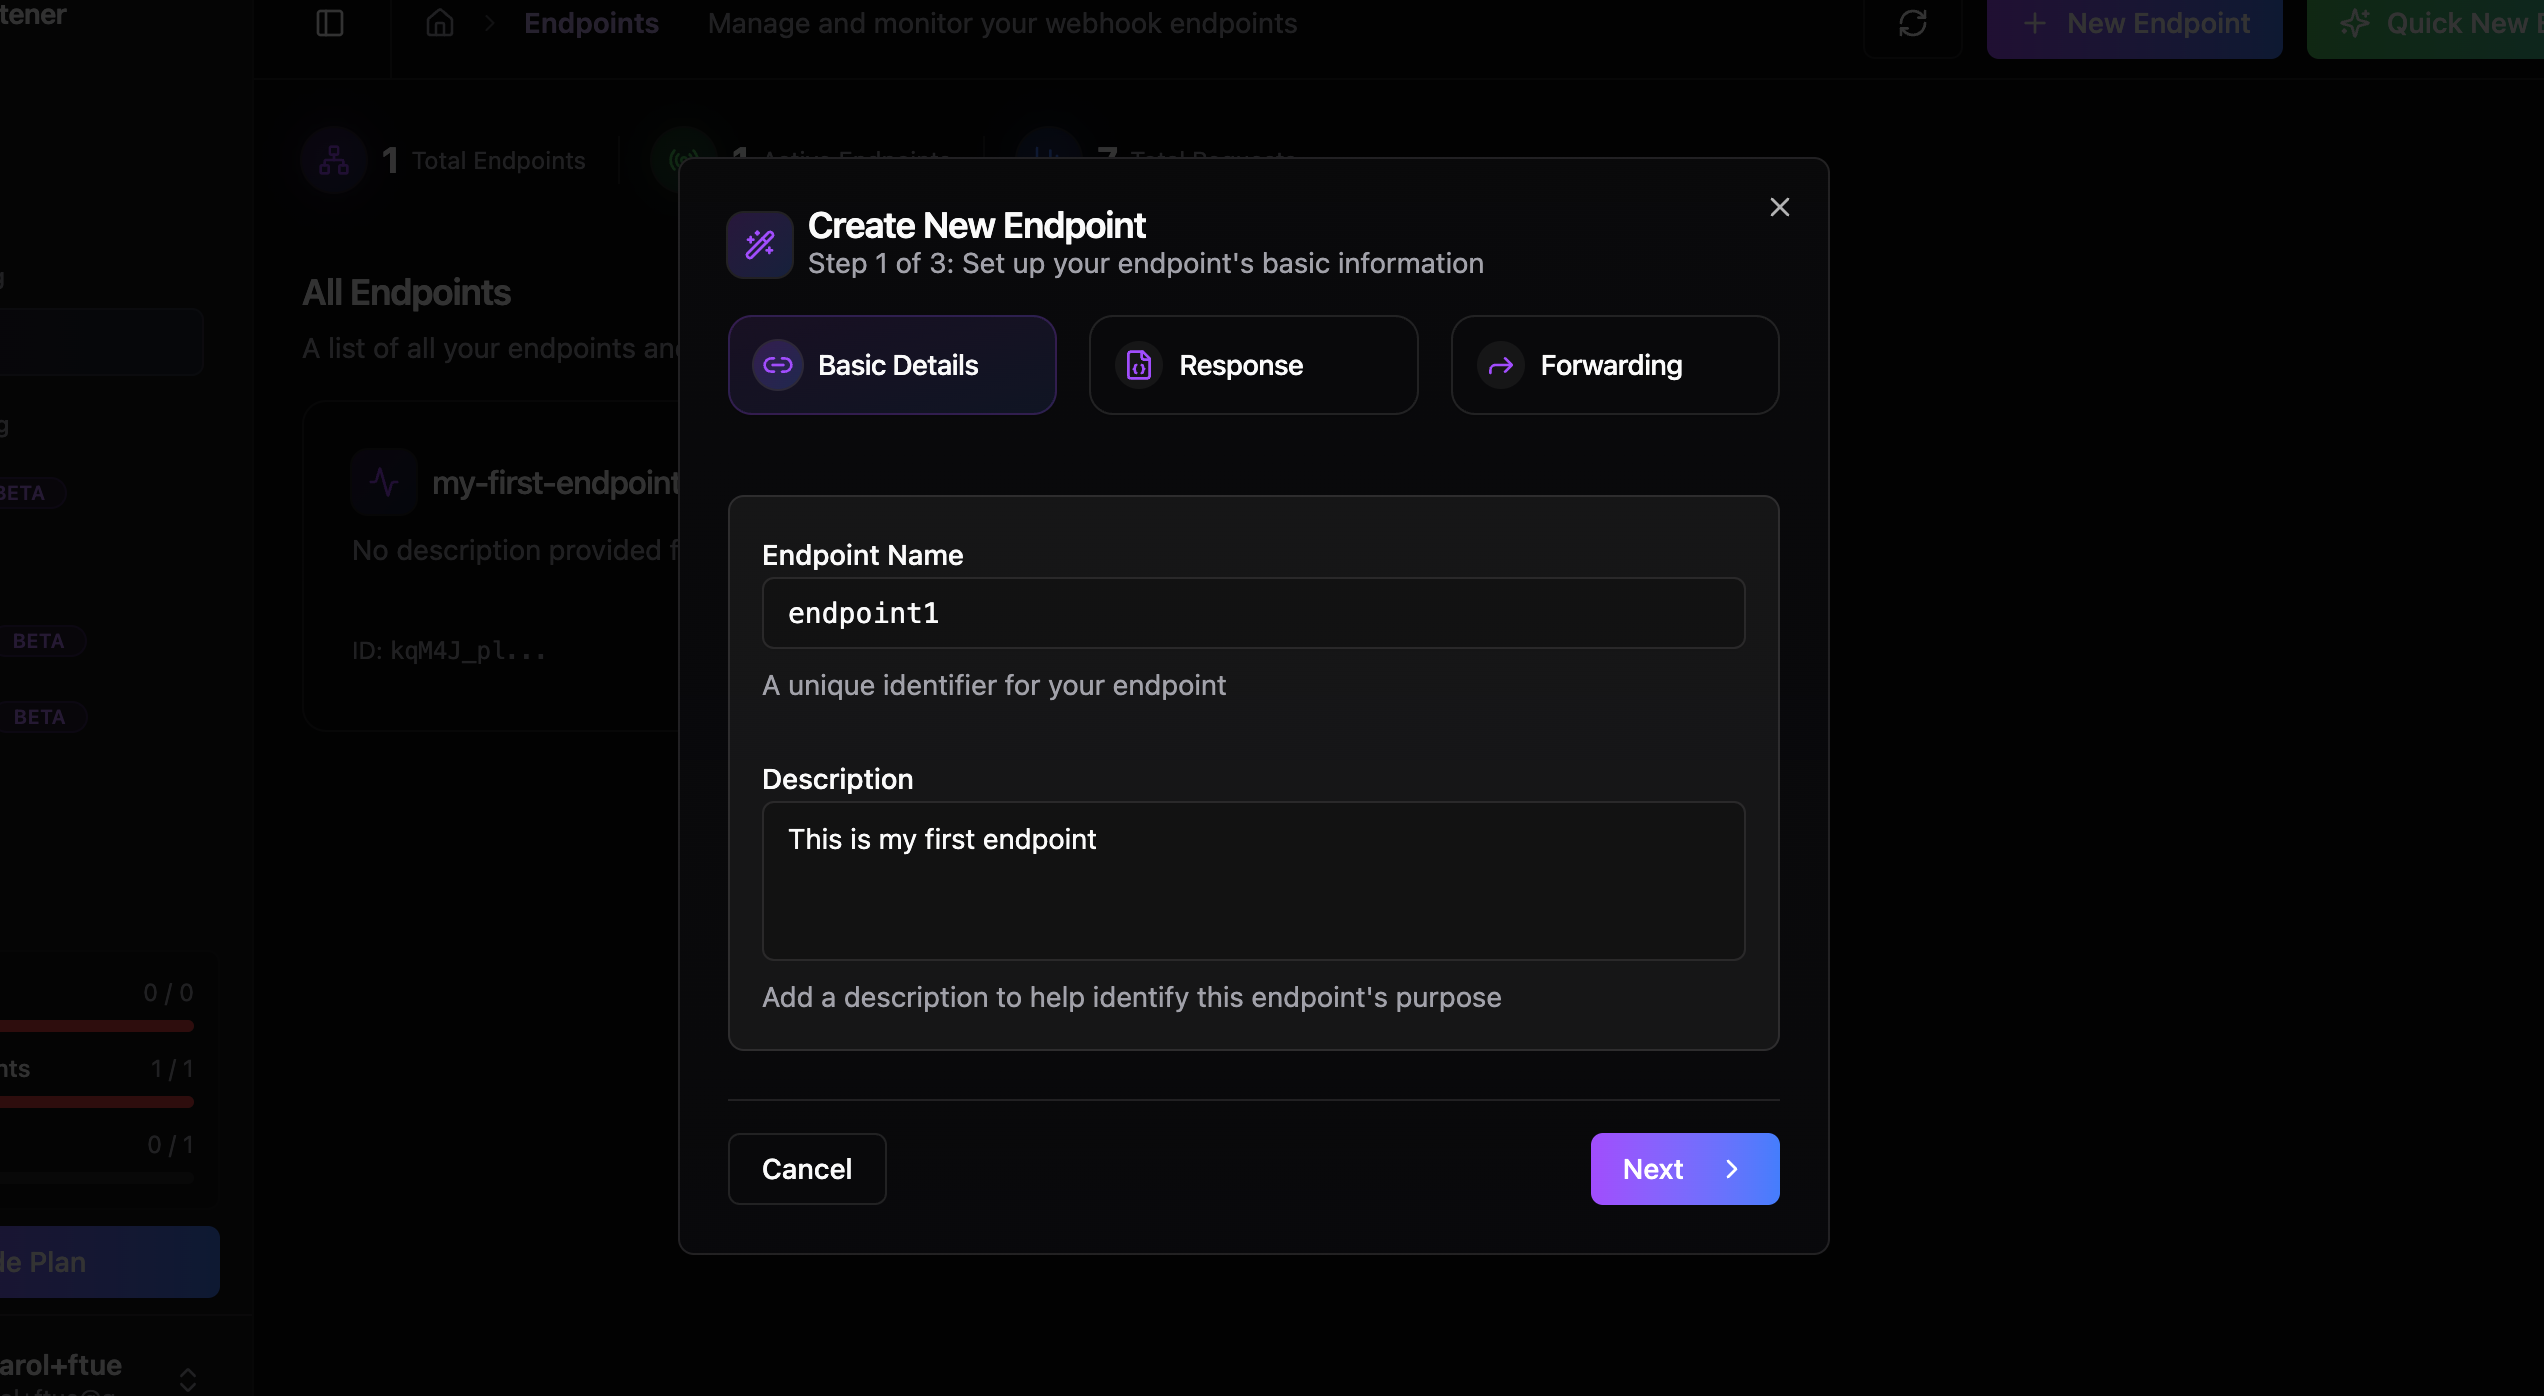
Creating a New Endpoint
You have two options for creating endpoints:
- Quick New Endpoint
This is the best option if you just want to obtain an endpoint quickly, without the need for configuration. With this option:
- An endpoint is automatically created
- Default settings are applied
- A name is automatically assigned
- The new endpoint appears at the top of your endpoint list
- Custom New Endpoint
Choose this option when you need more control over your endpoint setup. You can customize:
- Name and description
- Body content
- Status code
- Content type
- Forwarding endpoints
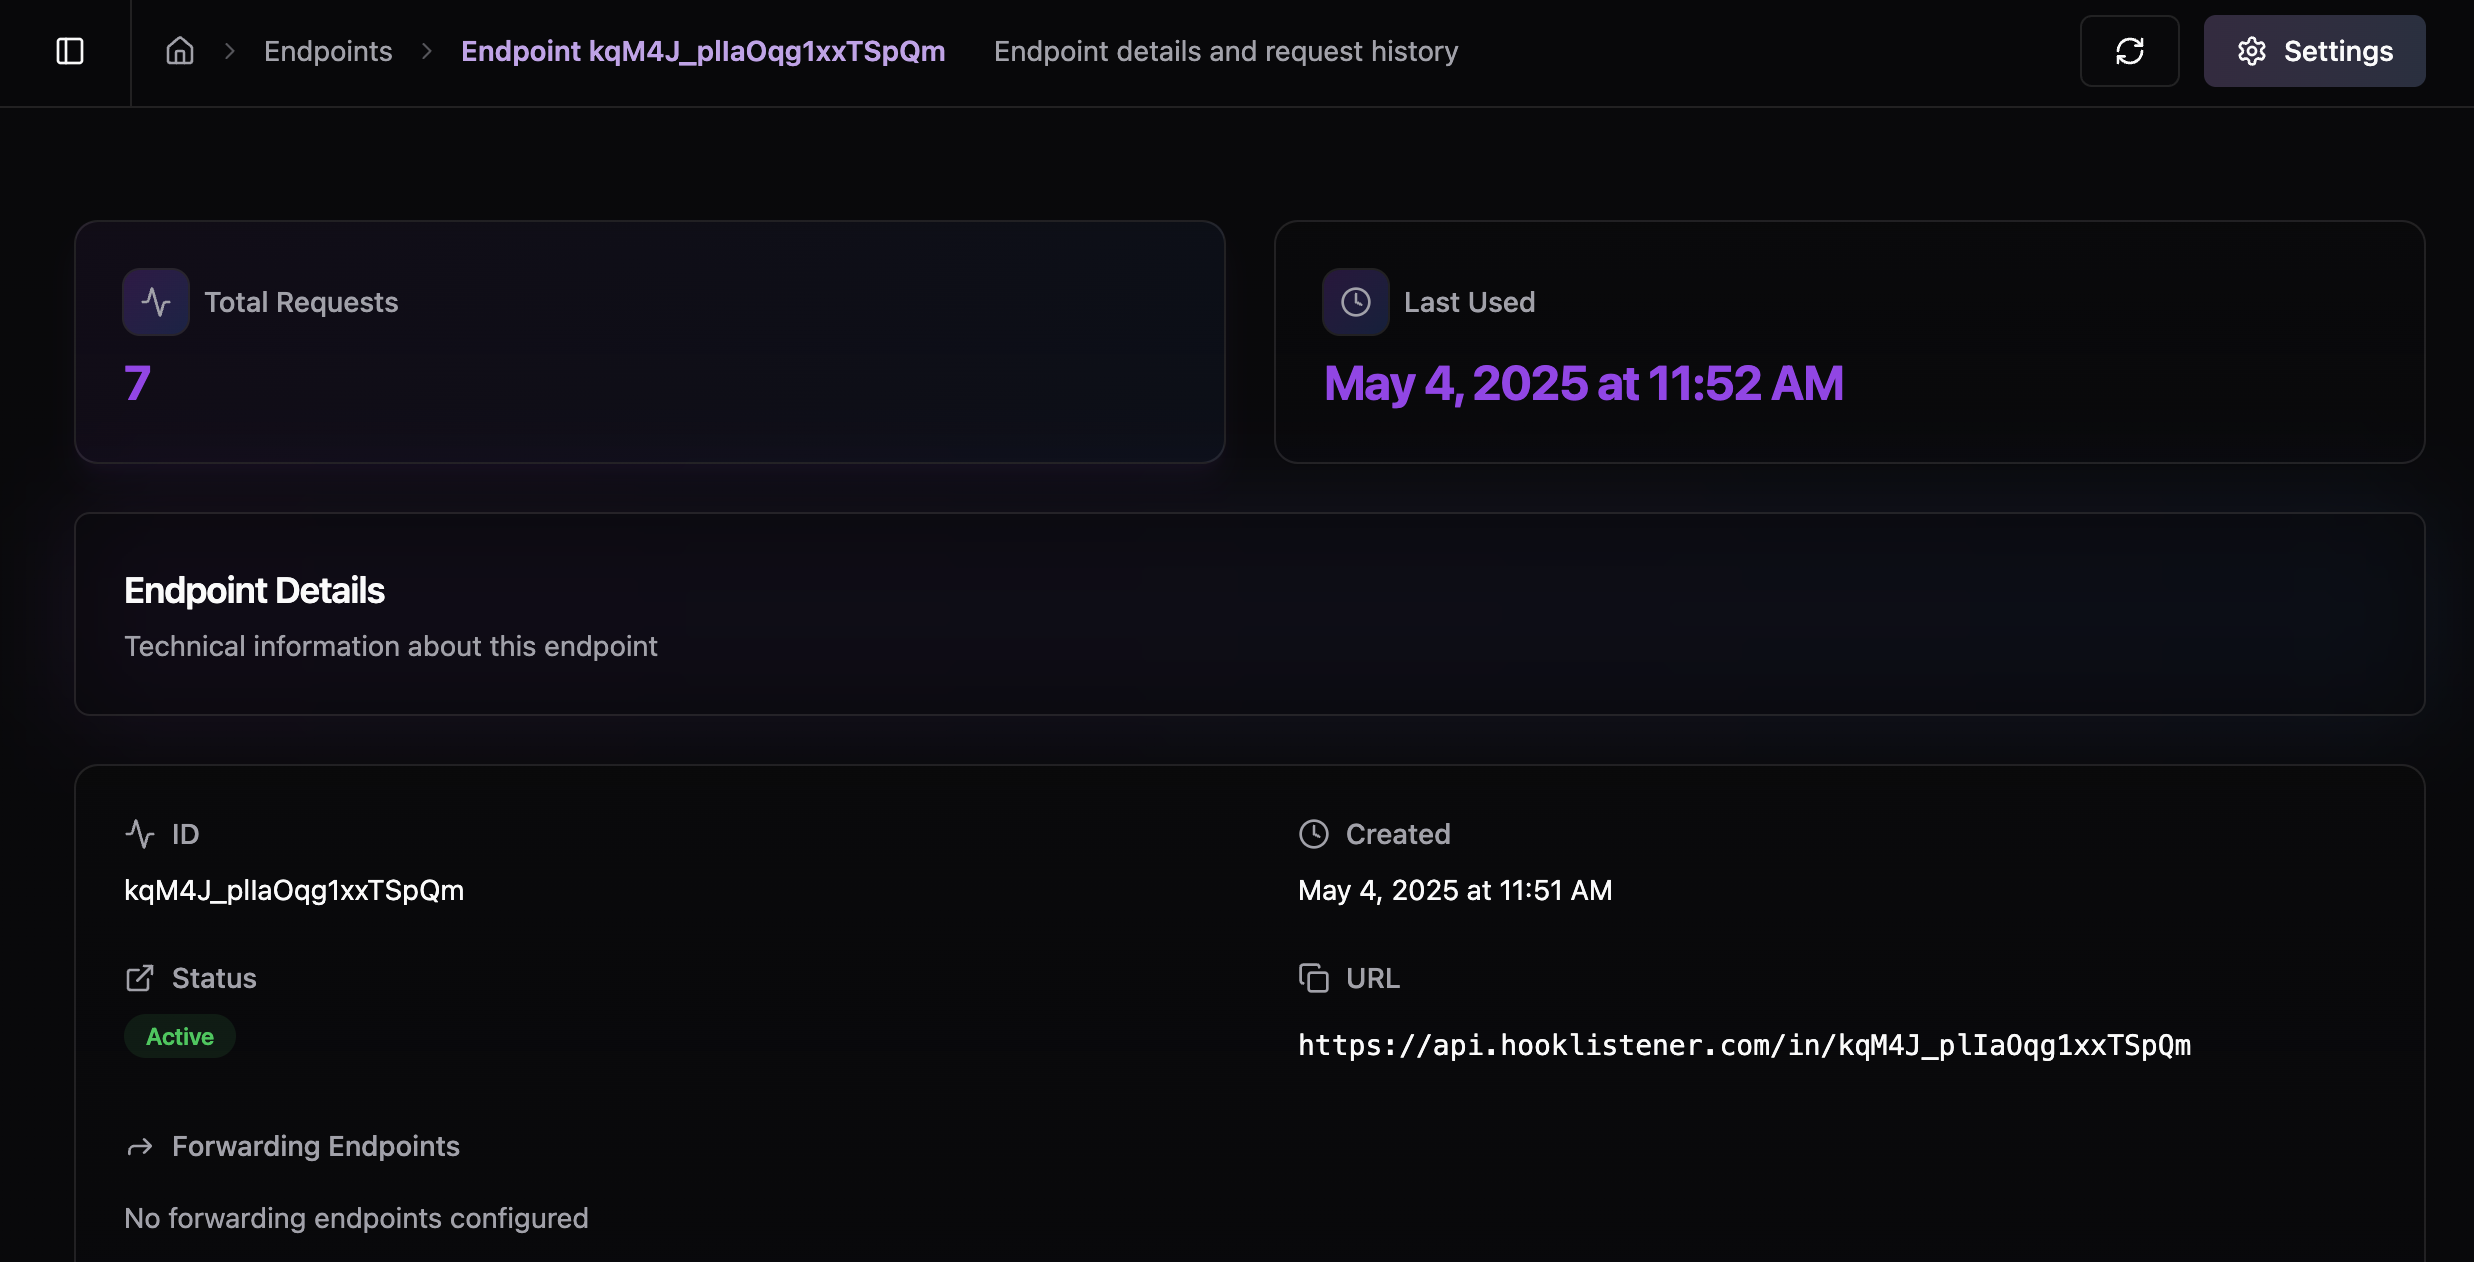
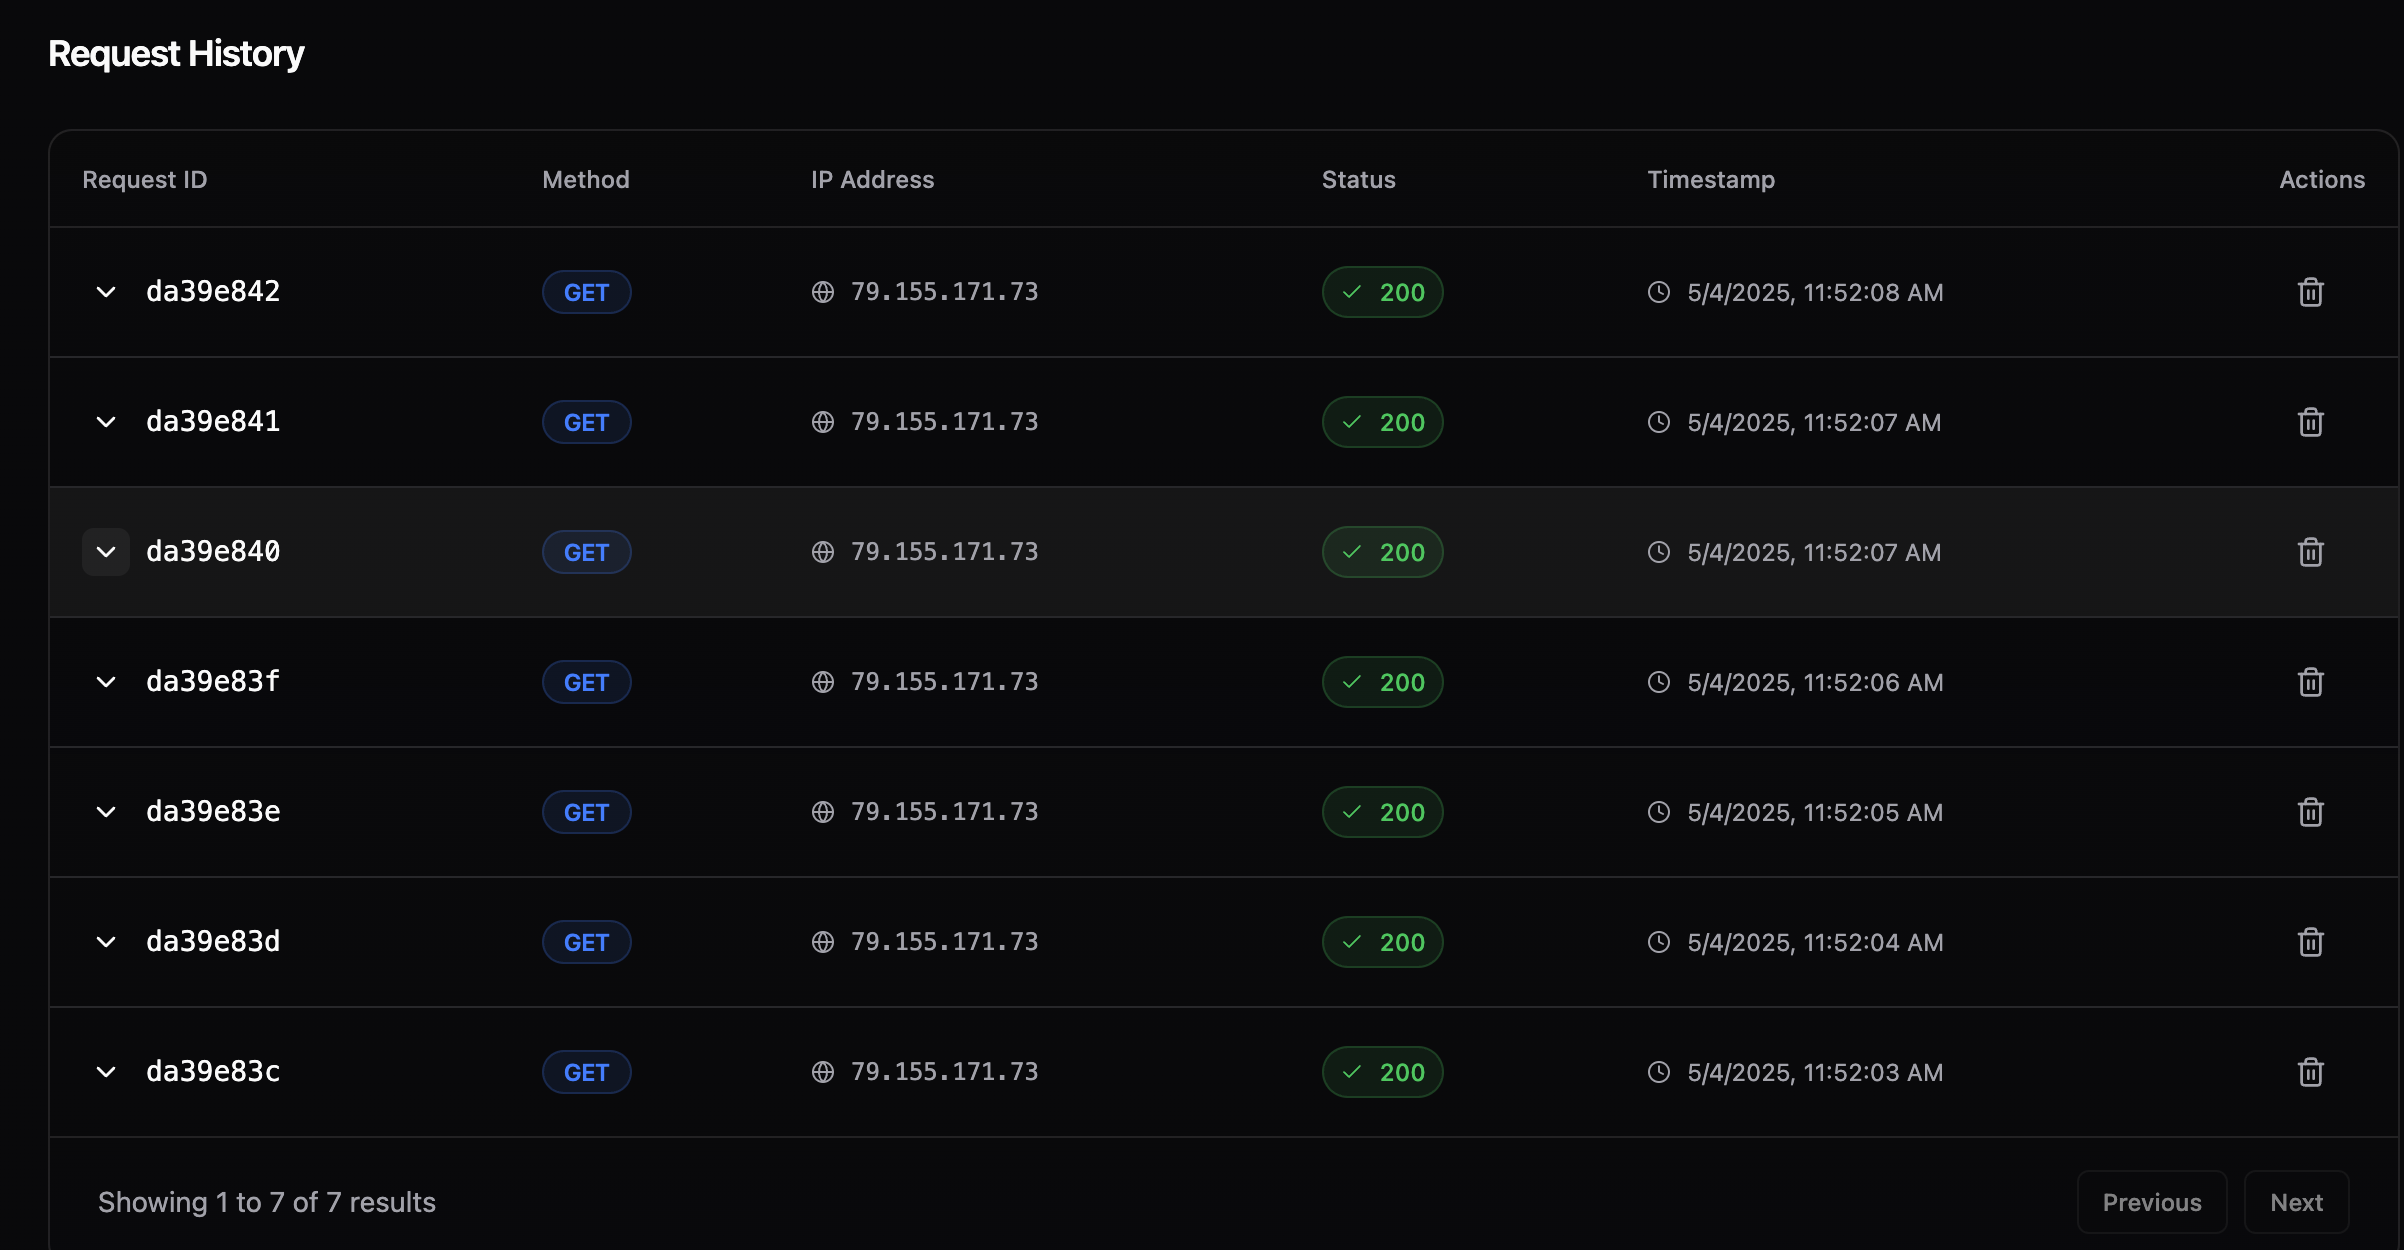
Managing Your Endpoint
Once your endpoint is created, you can:
- View all details by clicking on the endpoint
- Copy the URL directly from the endpoint box
- Delete the endpoint using the trash icon
Next Steps
Congratulations! Your endpoint is now ready to receive traffic. Simply:
- Copy the endpoint URL
- Start sending traffic to it
- Begin debugging your webhooks
Important Note
Remember that deleting an endpoint is permanent and cannot be undone. All data collected and associated with the endpoint will be permanently deleted.